The Strategy
Below is a detailed outline of all the steps we’ve taken to carry out a successful site migration and optimise the new domain.
Site Migration
Site migration refers to changes made to your website that have an effect on its URL structure, domain, hosting platform, content management system, or its overall design.
Our client’s site was migrated from a client-side to a server-side rendering setup, but there are other instances where site migration may be necessary:
- Rebranding or redesigning your website
- Moving from one content management system to another
- Changing the domain name
- Hosting or server changes
Regardless of the reason why you’re migrating your website, you still need to follow the best SEO practices in order to make your website easily searchable and grow its organic traffic.
What are these best practices, exactly? Here are some of the most important ones:
- URL mapping: make a list of all the URLs on your current website and set them next to the corresponding URLs from the new site. If you get a 404 error on any links from your old site, you’ll have to restore or redirect them to a corresponding page on the new site.
- Crawling and backing up the current site: a full website crawl and back up of your current site will allow you to revert to it, should your migration process not go according to plan.
- 301 redirects: use your URL map to set up 301 redirects from the pages on your old site to the corresponding new ones. This will help search engines and users access all your content easily, as well as transfer your old pages’ PageRank onto the new website.
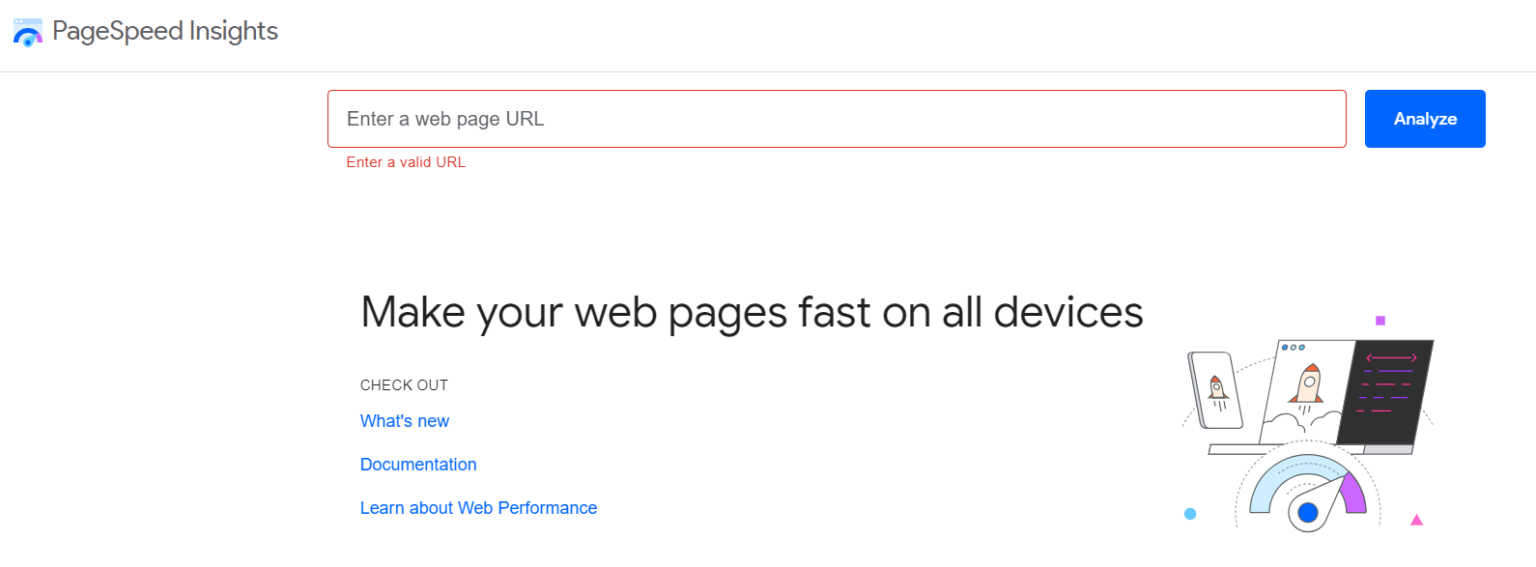
- Optimising performance: use Google’s Pagespeed Insights to audit page performance on your new site. This is useful in checking whether or not your site loads up as quickly as possible.
- Updating internal links: 301 redirects are good for individual pages, but you can’t rely on them for all the internal links on your new website. Direct internal links minimise the number of requests made to access the target page, improving page performance.
- Migrating content in batches: when you migrate your existing content to a new domain all at once, you risk missing any potential errors or issues. Moving your content in smaller batches makes it easier to audit your site with the right level of meticulousness.
- Continued monitoring and testing: test your new website thoroughly after migrating, and monitor its performance frequently, especially in the weeks following the migration. It’s a crucial step in terms of identifying and resolving potential problems, such as indexing errors or broken links.
- Other important factors: double check that all your SEO elements are preserved on the new site. This includes title tags, meta tags, and keyword optimisation. If these factors differ significantly, it will hurt your search rankings and visibility.
Fixing the X-Robots-Tag Header
Search engine crawlers follow certain specific instructions when crawling your site, which are located in the X-Robots-Tag header, an HTTP header that lets you have some control over how your site gets indexed by search engines.
In the X-Robots-Tag, you can deploy directives that inform crawlers and other web robots how to crawl, index, and present the content of your pages. Some of the most common directives include:
- “noindex”: keeps crawlers from indexing the page, effectively barring it from appearing on search engine results pages (SERPs)
- “noarchive”: the search engine won’t store cached versions of a page, keeping it from displaying cached copies in the search results
- “nofollow”: web crawlers won’t follow any links that appear on the page or consider them for indexing and crawling
- “noimageindex”: any of the image on the page will not be indexed, meaning that they won’t appear in image search results
- “nosnippet”: no preview of your content will appear on SERPs, and only the page’s title will be displayed
Keep in mind that the X-Robots-Tag requires a fair bit of SEO knowledge to understand and implement correctly. They’re best utilised alongside other SEO practices.
Fixing Invalid Canonical Tags
The “rel=canonical” tag, or simply canonical tag is helpful in tackling your website’s duplicate content problems.
If you have very similar or identical pages, implementing the canonical tag lets web crawlers know which of the pages you prefer to be indexed. This is what a correct “rel=canonical” tag looks like:
<link rel=”canonical” href=”https://www.website.com/my-page” />
If you have a few different URLs that lead to the same content, then implementing a canonical link on one of them is necessary if you want this content to rank well. Otherwise, its ranking will be diluted by the multiple URLs that lead to it.
In order to implement canonical tags the right way, follow these tips:
- Use absolute URLs: a relative URL only contains the final part of the link, i.e. the slug (e.g. “/my-page/”), whereas absolute URLs are full links. While both absolute and relative URLs will be understood by crawlers, it’s better to use absolute URLs in order to keep crawlers from misinterpreting the tag.
- Pay attention to the domain version: if you’re on a secure (SSL) domain, make sure that you declare the “https” version in your canonical tag, instead of the old “http.”
- Use lowercase URLs: it’s not always the case, but Google interprets lowercase and uppercase URLs as two different links. So, err on the side of caution and always use lowercase URLs in your canonicals after forcing lowercase URLs on your server first.
- Have only one canonical tag per page: this is important, because if you have more than one canonical tag on a page, Google will ignore all of them.
- Implement self-referential canonical tags: it is recommended that you include a canonical tag that points to the page it is implemented on. It makes it clear to search engines that this is the page you want indexed.
Optimising the Service Pages
After the migration was complete, we moved on to optimising our SAAS client’s service pages, as these are the most important parts of their website. We focused on making sure that they’re optimised for search engines, but importantly, that they present users with the information they were looking for.
When optimising your pages, start by focusing on the following:
- User intent: every target keyword has a particular search intent. In case of our client’s service pages, the intent was transactional, i.e. looking to purchase a particular product or service. Other types of search intent include informational, commercial, and navigational. You should always make sure that your content caters to the intent of your targeted keyword.
- Content gaps: do a quick Google search and see what ranks best for your target keyword. Then, assess your website and see what’s missing in comparison to your high-ranking competitors. Make sure your headings are well-structured, clearly defined, and relevant to the subject of your page, and that you cover everything that your competitors do. You might also add some images or videos to diversify the content. Finally, don’t overlook things like calls to action and tables of contents.
- Page title: this is the first thing users (and Google) look at to see if your page is relevant to their search query. It needs to be descriptive and optimised for your primary target keyword.
Example: “Cheap Men’s Haircuts | Best Hairdresser”
- H1 heading: your H1 heading should be similar to your page title (doesn’t need to be identical, though), and include your target keyword.
Example: “Professional Cheap Men’s Haircuts From Best Hairdresser”
- Meta description: while not a ranking factor per se, an engaging and relatable meta description is an opportunity to convince users to click on your page rather than your competitors’. Be sure to keep it between 155-165 characters for the best chance at getting displayed on the SERPs.
Example: “Need a haircut before a first date or important job interview? Look no further than Best Hairdresser! We provide the best cheap men’s haircuts in all of Manhattan.”